

IN GOOD SHAPE – WITH TRICKS AND HINTS FOR EVERY PROBLEM
Walkable after 24 hours – loadable after 48 hours. No more long waiting times of 4 – 6 weeks. Due to the simplicity of application and short drying times, our screed tiles save an enormous amount of time on the construction site. Especially in timber construction and renovations, the ceramic dry screed from TONALITY offers many advantages over conventional wet and dry screed systems.
01
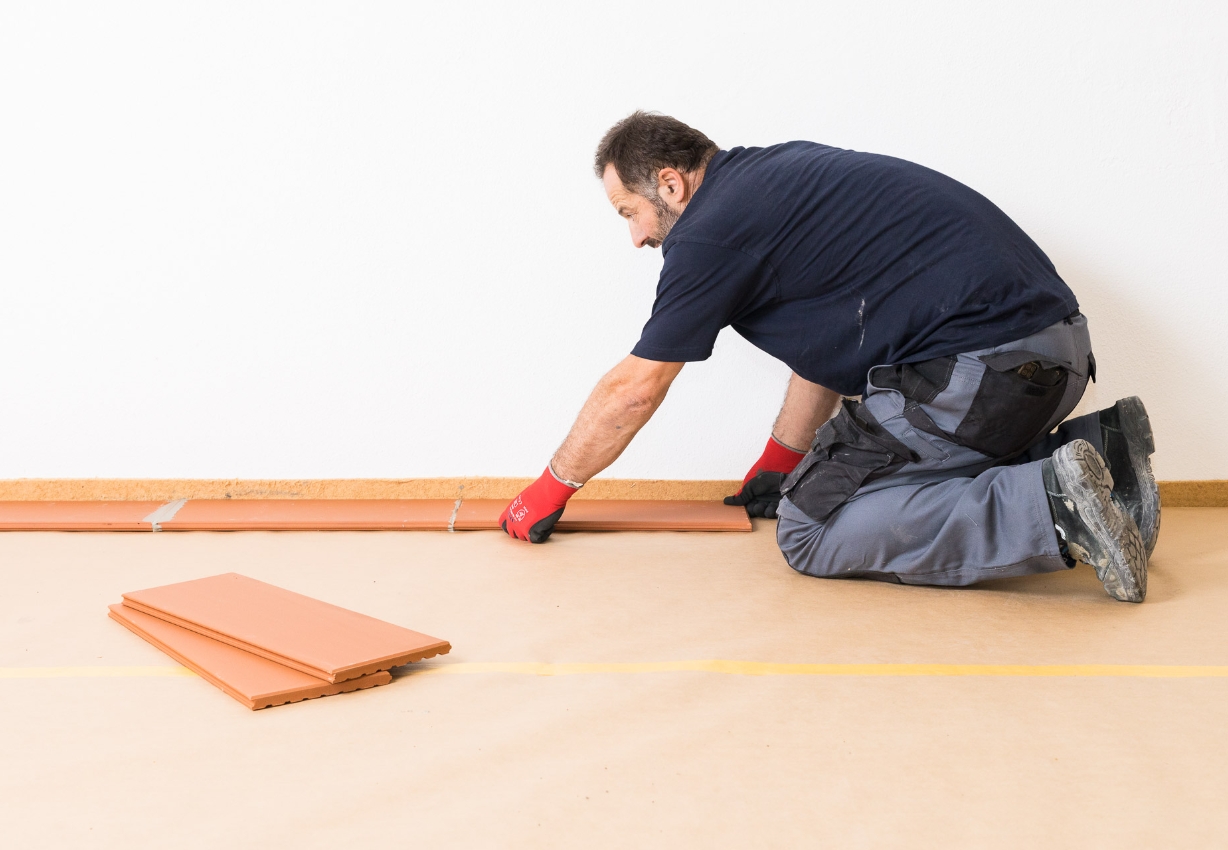
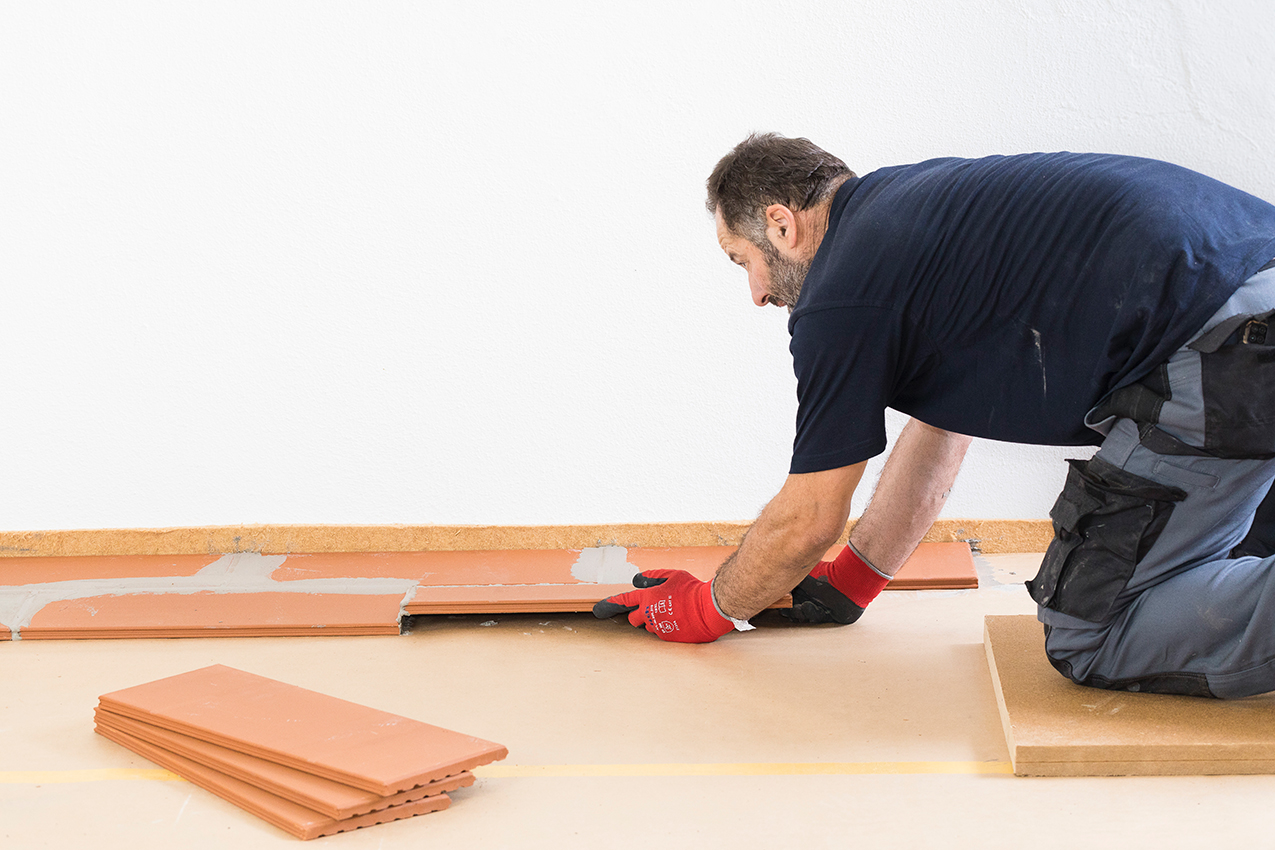
The 4 or 5 tiles of the first row are laid with the tongue in contact with the edge insulation strip affixed to the wall, starting in the rear left corner of the room. The specialist adhesive is applied to the butt joint between adjacent tiles.
02
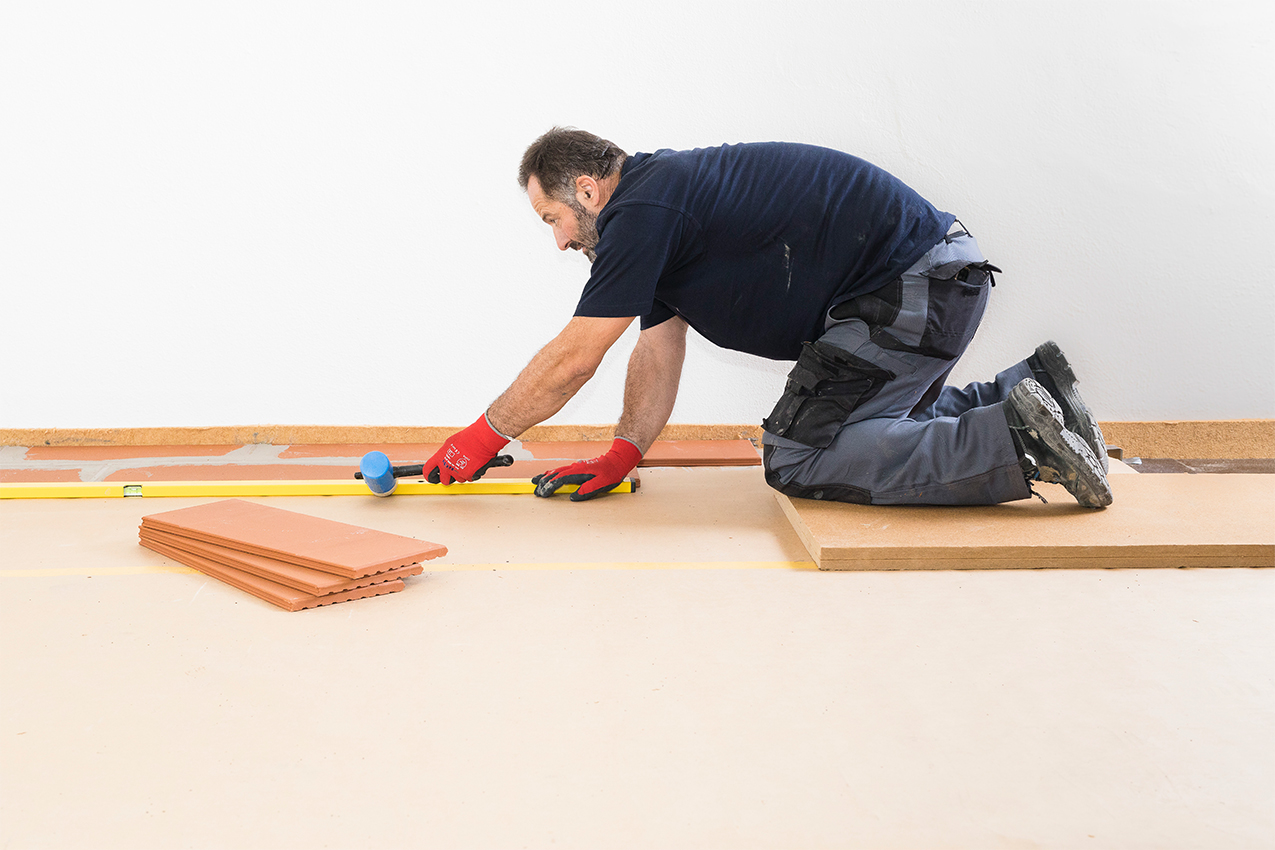
The straightness of the first row must be checked with a straightedge. The straightness should then be re-checked after every third row.
03
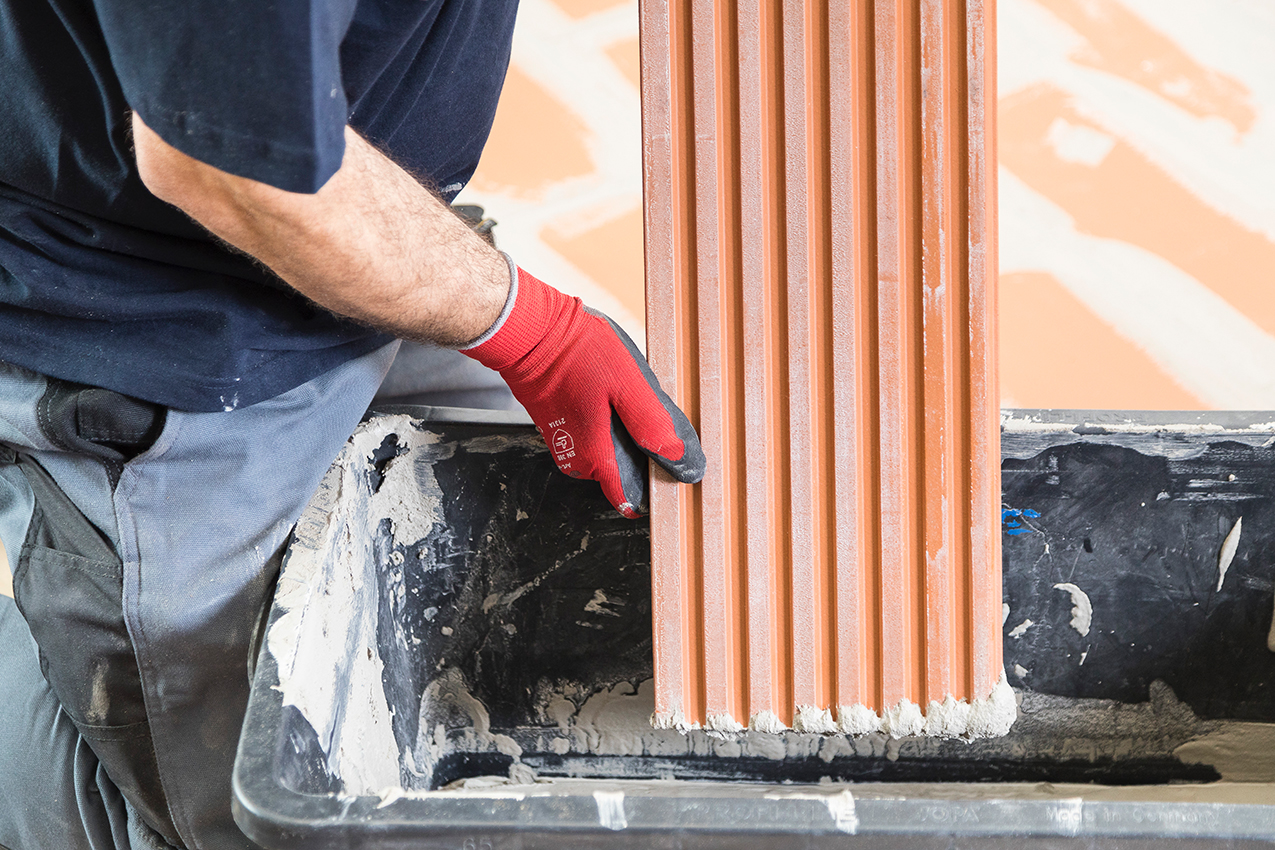
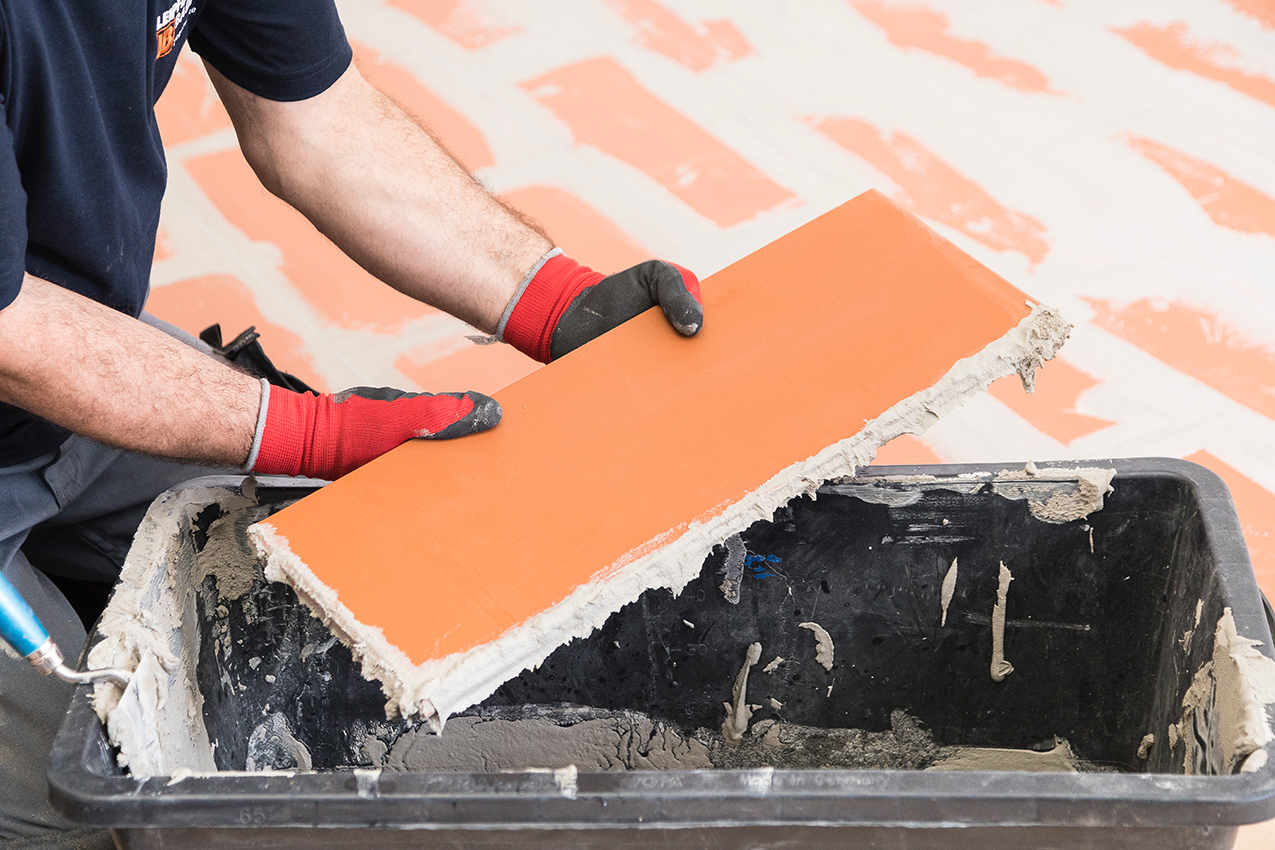
By dipping the tile in the adhesive at an angle (with the rear of the tile pointing upwards), application of adhesive to the underside of the tile is avoided. The required amount of adhesive is loaded on to the tongue of the tile by way of a short up and down movement whilst dipping.
04
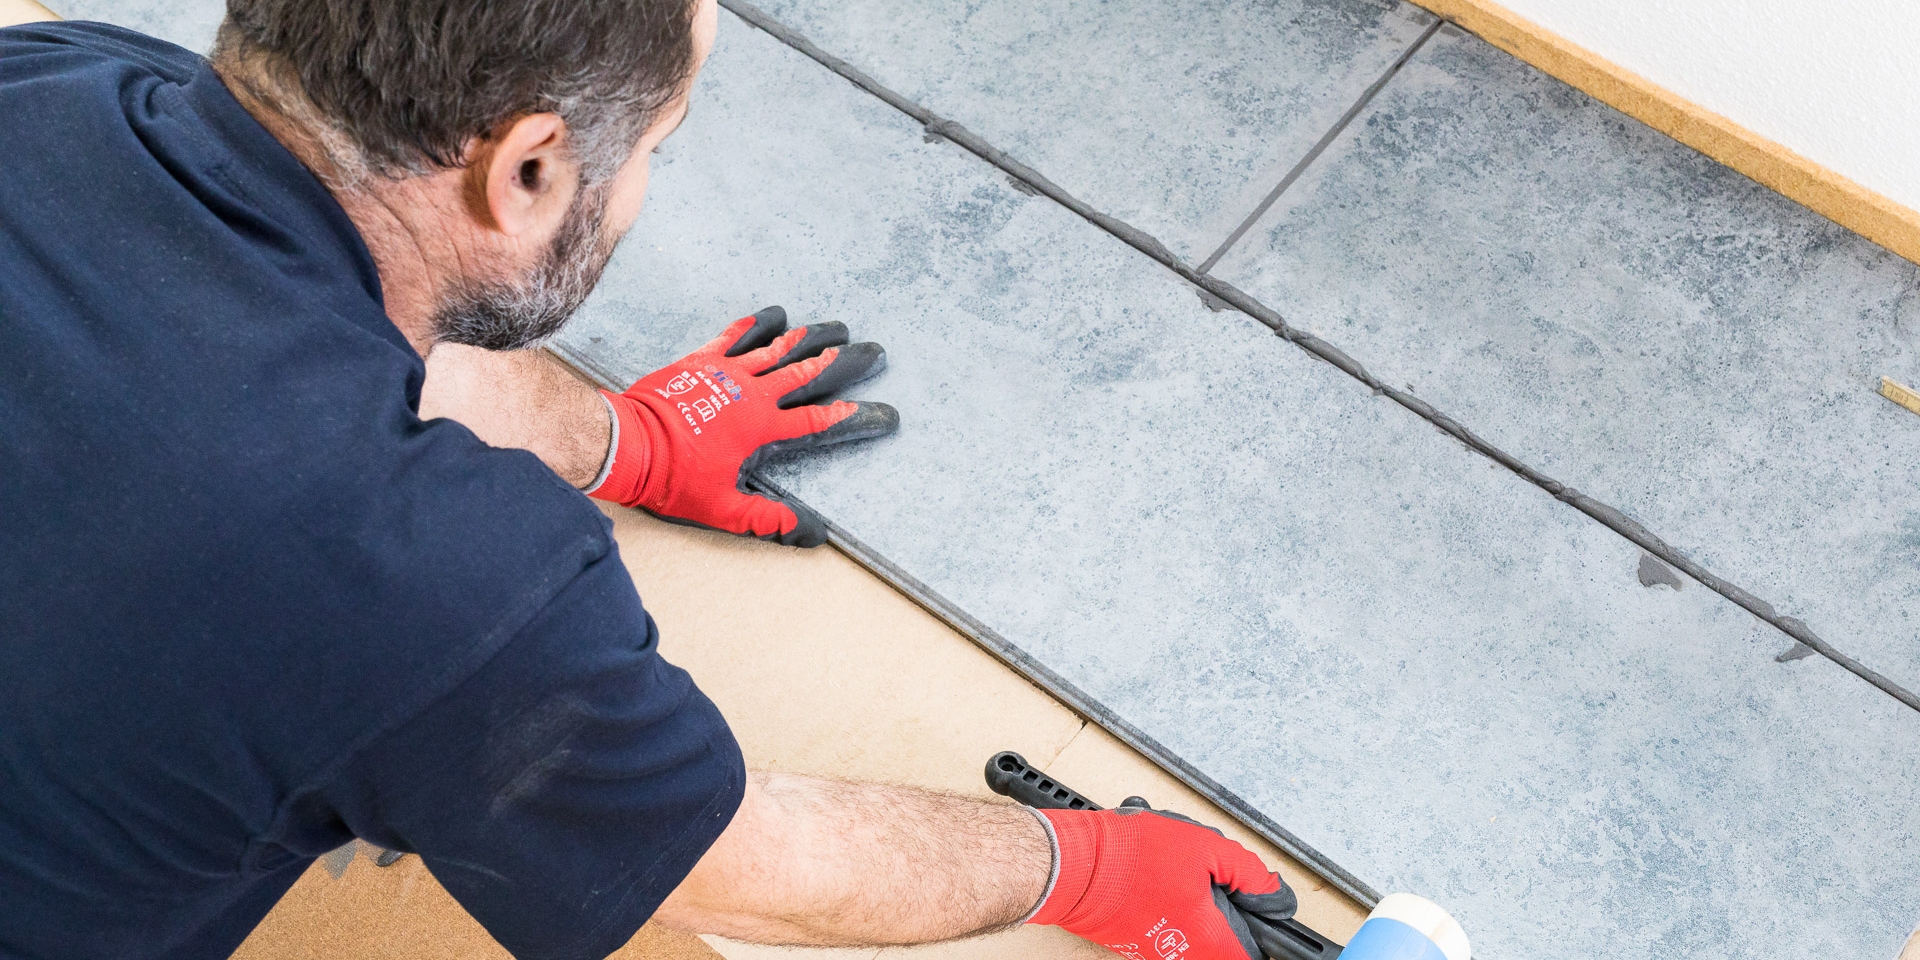
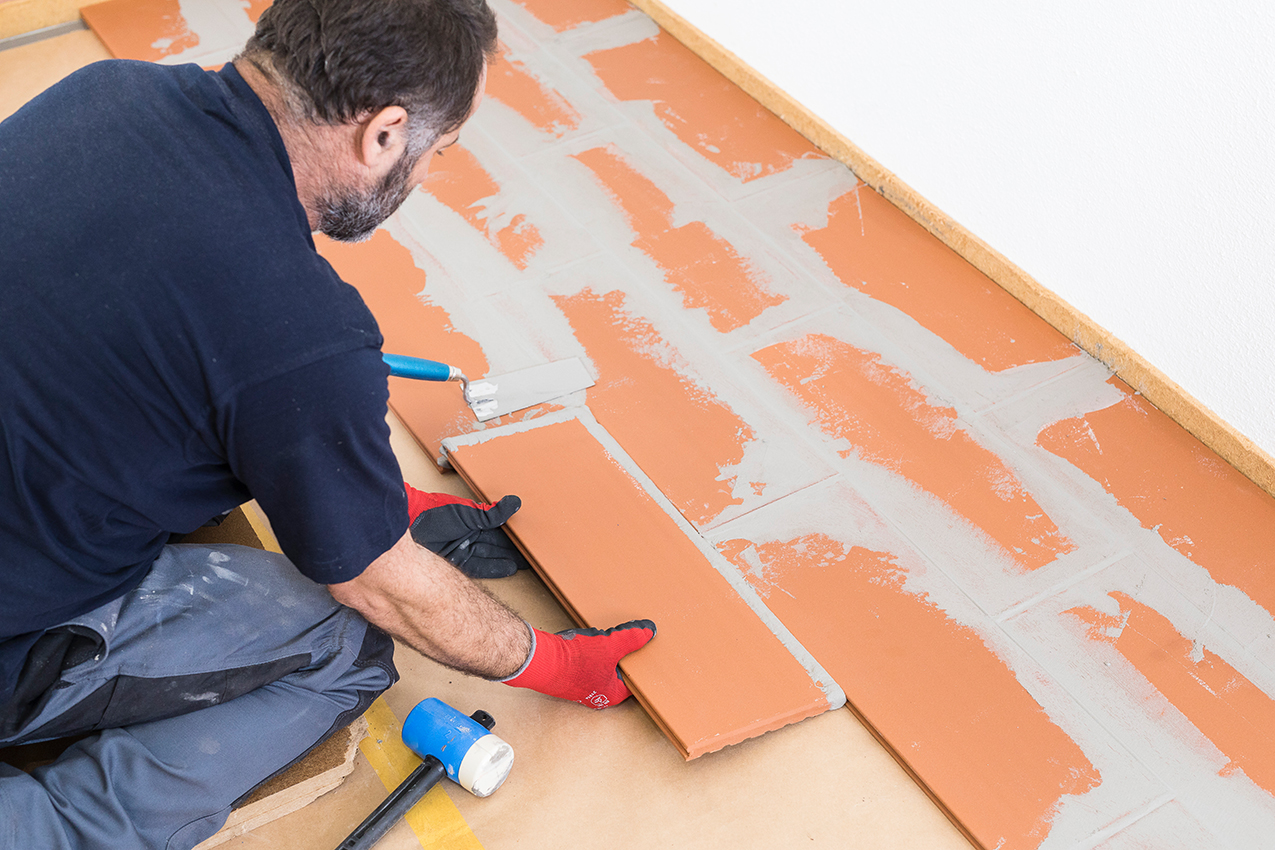
In order to achieve the necessary half bond layout pattern, the second row is started with a prepared half width tile. The tongue is pressed into the groove of the previous row of tiles and pushed to the left to meet the face joint of the adjacent tile or wall. If the tiles are laid correctly, adhesive will only be expelled from the top of the joint, and a joint width of approx. 4 mm will be achieved after the excess adhesive has been removed.
05
After laying 3-4 tiles in the second row, the third row is started again using a whole tile. The three rows are laid in this pattern. To save time when laying, continue according to this pattern. For removal of excess adhesive, please refer to ‘visible laying’.
06
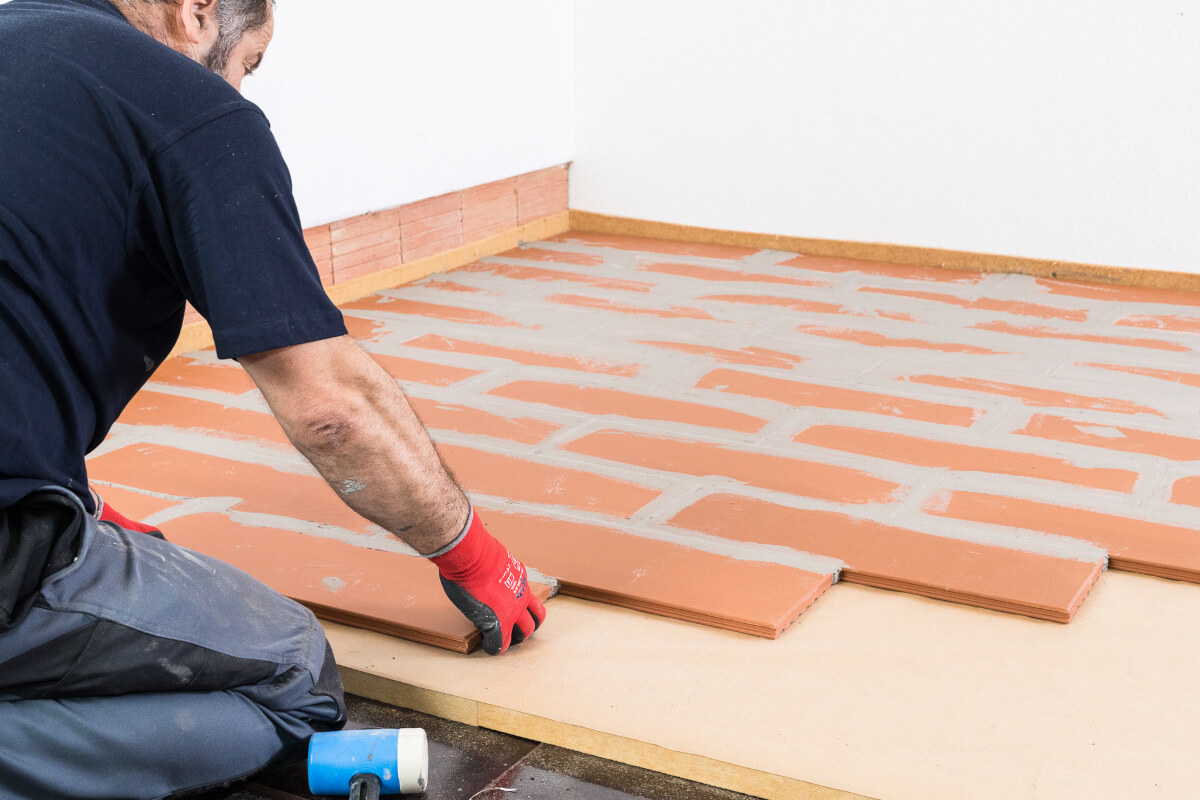
The dipping of the butt joints is completed by the same procedure as for the front side. Alternatively, the adhesive can be applied with a trowel.
PROCESSING
Please download our application brochure for more information on layer build-ups and substrate requiremets.
Request downloadThe layer structures of the Screed Replacement Tiles

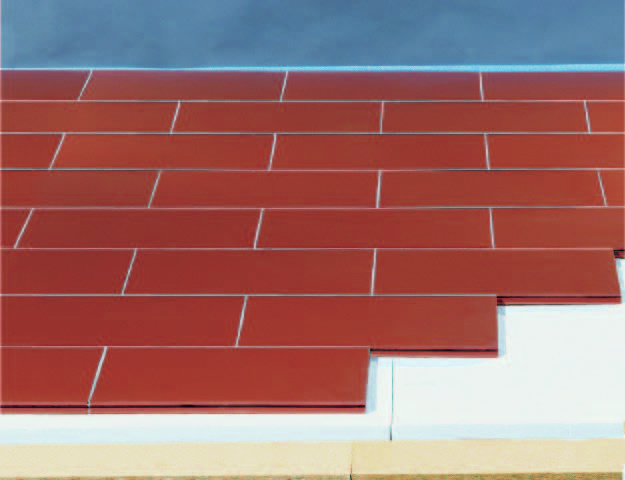
Screed Replacement Tile on EPS 035 DEO M 200 kPa and dry fill.
Screed Replacement Tile on EPS 035 DEO L 200 kPa and soft wood fibre impact sound insulation (e.g. PAVATEX “PAVAPOR 22/21 or 17/16”) on dry fill.

Screed Replacement Tile on soft wood fibre impact sound insulation (e.g. PAVATEX “PAVAPOR 22/21 or 17/16”) on dry fill.
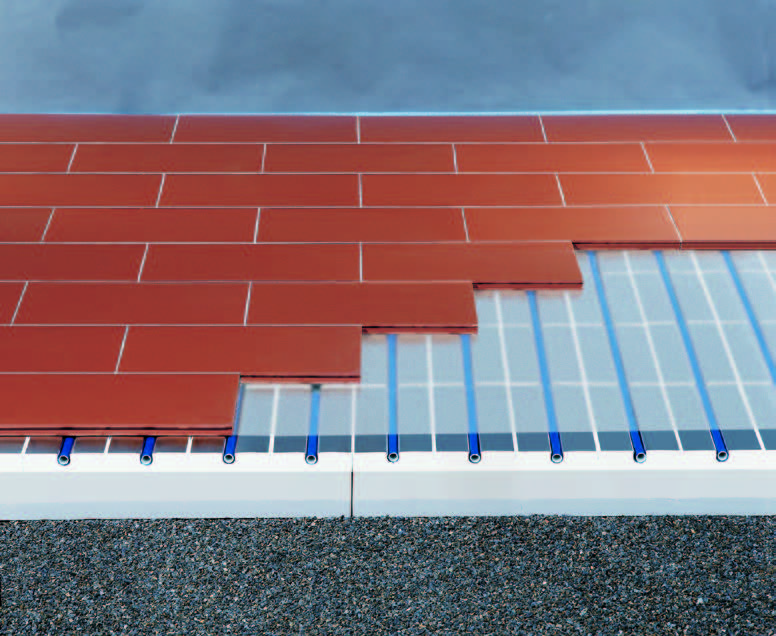
Screed Replacement Tile on underfloor heating. Suitable system with pipes in heat-conducting sheets and EPS 035 DEO M 200 kPa rigid foam insulation on dry fill for level subfloor.
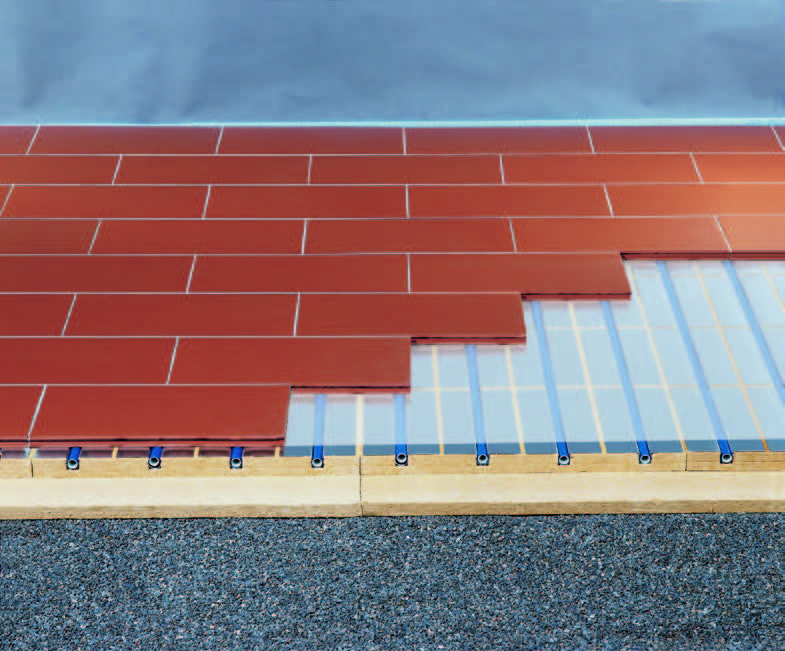
Screed Replacement Tiles on underfloor heating as an ‘eco-system’ with pipes and heat-conducting plates in soft wood fibre insulation on soft wood fibre impact sound insulation (e.g. PAVATEX “PAVAPOR 22/21 or 17/16”) and dry fill.
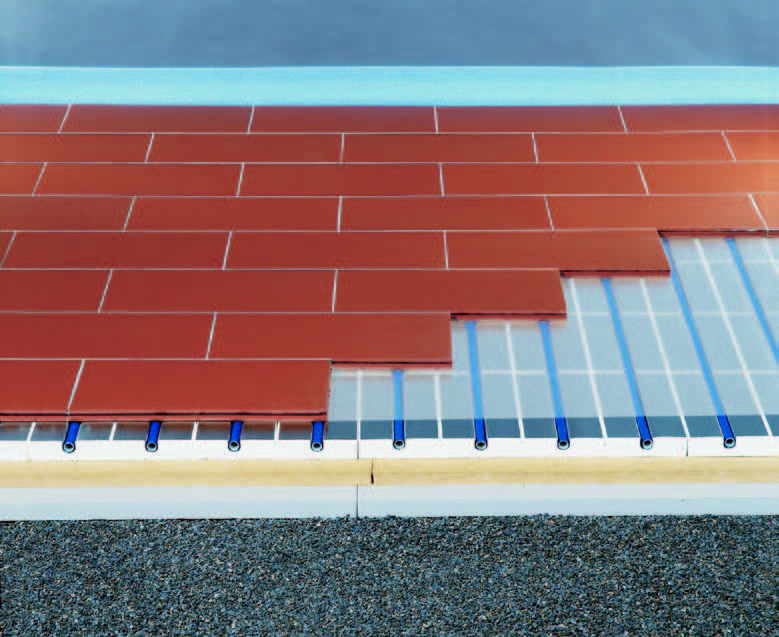
Screed Replacement Tiles on underfloor heating. Impact sound insulation made of soft wood fibre (e.g. PAVATEX “PAVAPOR 22/21 or 17/16”), EPS rigid foam insulation and dry fill.
Solutions for awkward joints and transitions
For butt joints, e.g. doorways, or other discrepancies between adjoining Screed Tile installations, a piece of sheet metal, at least 0.8 mm thick, and with a width not less than 200 mm is placed underneath the Tiles and halfway between the two. For transitions to other coverings, connections to stair landings or ventilation outlets as well as entrances to flats, underlaying with sheet metal strips is also necessary for stabilisation.
Request download